Money Jars
 Learning to save money is an important life skill. During America Saves Week (February) or Financial Literacy Month (April), I like to have small groups of students rotate through the Money Jar Center. I’ve also done it as a whole class activity with second grade and up.
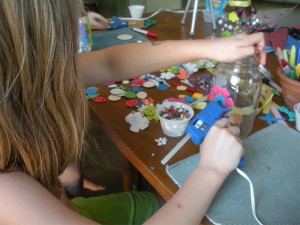
Students do have the option of using a hot glue gun. I go over the rules very carefully. Even so, there are usually a handful who choose not to use the glue gun. And that’s perfectly okay because there are a variety of other objects for them to use like colored sharpies, foam stickers, and regular stickers.
For directions on making the Money Jars:
Materials needed:
-mason jar
-hot glue gun and glue sticks
-fabric scraps
-cardboard
-”jewels”
-stickers
-pom poms
-permanent markers
-ribbon
-any other fun stuff to place on jar
Using a mason jar for this activity is important because it allows your child to watch her money “grow”. In addition, the lids are perfect for customizing a slot where the coins/bills will go through.
1.Remove the metal circular lid and cut a cardboard circle the same size. Throw away the circular metal lid.
2.Cut a slot in the cardboard large enough for a quarter to easily fit through.
3.Use a large enough piece of square fabric to cover the cardboard and have plenty left over to spill over the top of the jar.
4.Cut a slot in the fabric to match the slot in the cardboard.
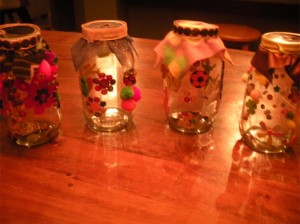
5.Have your child/students decorate their jar. You can squeeze the glue from the glue gun onto the jar for her. Or, if you prefer, there are plenty of non glue-gun materials you can use to decorate.
6.Glue the ribbon around the rim of the lid.
7.Screw the lid on tight and begin dropping in coins!
